In this short tutorial we will see how to deploy an Enterprise applications on Openshift (The Kitchensink demo) using a Binary Build, therefore having as input just the local WAR file.
In most cases you can create applications on Openshift using the S2I (Source to Image) process using as input for your Templates a remote github project. On the other hand, you can as well build and deploy your application from a local folder. As an example, download the kitchensink project and save it locally. Build it so that you eventually end with a WAR file in the target directory.
$ cd kitchensink
$ mvn clean install
Now let’s make a folder called deployments and copy the kitchensink.war there
$ mkdir deployments
$ cp target/kitchensink.war deployments/ROOT.war
Notice we have have also renamed the WAR file to be ROOT.war so that the application will be deployed on the Root context. Next I’m going to log into OpenShift and setup a project to build and run my app in. Assumed you are running on Minishift (check this article to learn how to install Minishift: Getting started with Openshift using OKD)
$ oc login https://192.168.42.253:8443 -u developer
In order to deploy our application we will need the ImageStream for WildFly. This should be available in the openshift namespace:
oc get is -n openshift | grep wildfly
wildfly      172.30.1.1:5000/openshift/wildfly      8.1,9.0,latest + 5 more...   46 hours ago
Great. Now I can take that ImageStream name and plug it into a new build. I’m going to give the build a name of kitchensink:
$ oc new-build wildfly --name=kitchensink --binary=true
--> Found image af69006 (8 days old) in image stream "openshift/wildfly" under tag "13.0" for "wildfly"

    WildFly 13.0.0.Final
    --------------------
    Platform for building and running JEE applications on WildFly 13.0.0.Final

    Tags: builder, wildfly, wildfly13

    * A source build using binary input will be created
      * The resulting image will be pushed to image stream tag "kitchensink:latest"
      * A binary build was created, use 'start-build --from-dir' to trigger a new build

--> Creating resources with label build=kitchensink ...
    imagestream.image.openshift.io "kitchensink" created
    buildconfig.build.openshift.io "kitchensink" created
--> Success
Now OpenShift just created for me an ImageStream and a BuildConfig object, both named kitchensink. The ImageStream will track the new images that get built as part of this new build process, and the BuildConfig contains all the instructions that tell OpenShift how to build my app.
Now I can kick off my build by pointing the oc client at my local project directory. The command to do that is oc start-build –from-dir=. In my case I will be choosing kitchensink as and the current directory where deployments contains the WAR file. Also, I will choose to follow the status of the build. To do that, I’ll add the –follow=true (follow the logs of the build) and –wait=true (wait until the build completes to return an exit code).
$ oc start-build kitchensink --from-dir=. --follow=true --wait=true

Uploading directory "." as binary input for the build ...
Pushed 0/13 layers, 8% complete
Pushed 1/13 layers, 31% complete
Pushed 2/13 layers, 31% complete
Pushed 3/13 layers, 31% complete
Pushed 4/13 layers, 31% complete
Pushed 5/13 layers, 38% complete
Pushed 6/13 layers, 46% complete
Pushed 7/13 layers, 54% complete
Push successful
Now that I have my application image built, I can deploy it. This is very simple. I just run the oc new-app command and specify my ImageStream, kitchensink.
$ oc new-app kitchensink
--> Found image 275a79a (About a minute old) in image stream "myproject/kitchensink" under tag "latest" for "kitchensink"

    temp.builder.openshift.io/myproject/kitchensink-1:f4dfeb6d
    ----------------------------------------------------------
    Platform for building and running JEE applications on WildFly 13.0.0.Final

    Tags: builder, wildfly, wildfly13

    * This image will be deployed in deployment config "kitchensink"
    * Port 8080/tcp will be load balanced by service "kitchensink"
      * Other containers can access this service through the hostname "kitchensink"

--> Creating resources ...
    deploymentconfig.apps.openshift.io "kitchensink" created
    service "kitchensink" created
--> Success
    Application is not exposed. You can expose services to the outside world by executing one or more of the commands below:
     'oc expose svc/kitchensink'
    Run 'oc status' to view your app.
The application has been created. Let’s check that Pods are available:
$ oc get pods
NAME                   READY     STATUS      RESTARTS   AGE
kitchensink-1-85sq2    1/1       Running     0          2s
kitchensink-1-build    0/1       Completed   0          1m
kitchensink-1-deploy   1/1       Running     0          4s
In order to test it, let’s expose the Service to create a new Route:
$ oc expose svc/kitchensink
route.route.openshift.io/kitchensink exposed
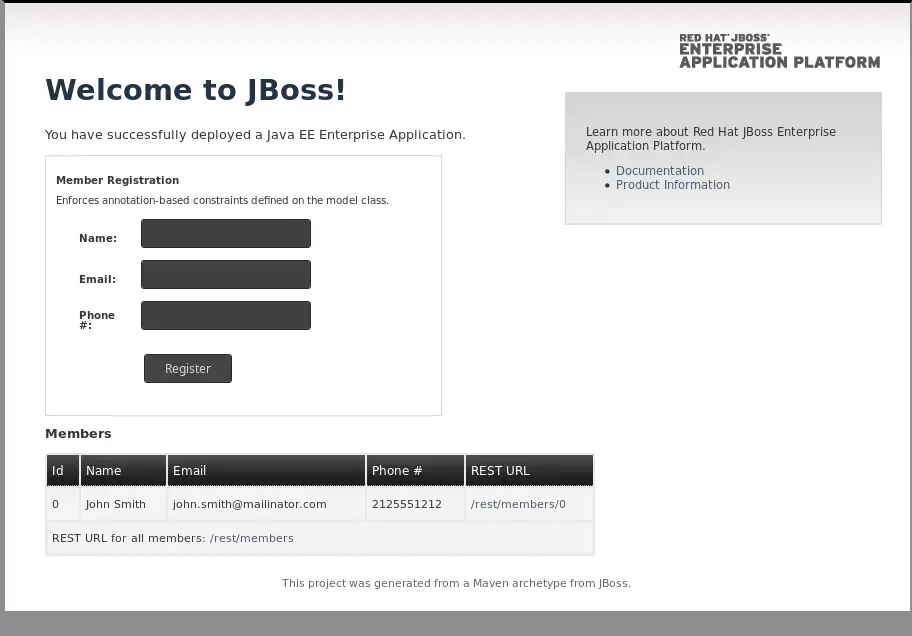
Our Kitchensink Application is now available:
You can check the list of Members with the following GET request:
$ curl kitchensink-myproject.192.168.42.253.nip.io/rest/members
[{“id”:0,”name”:”John Smith”,”email”:”[email protected]“,”phoneNumber”:”2125551212″}]
Cool! why not adding a new Member with a POST ?
curl -d ‘{“name”:”john”, “email”:”[email protected]“, “phoneNumber”:”1234567890″}’ -H “Content-Type: application/json” -X POST kitchensink-myproject.192.168.42.253.nip.io/rest/members
And here’s the new list of Members:
$ curl kitchensink-myproject.192.168.42.253.nip.io/rest/members
[{“id”:0,”name”:”John Smith”,”email”:”[email protected]“,”phoneNumber”:”2125551212″},{“id”:1,”name”:”john”,”email”:”[email protected]“,”phoneNumber”:”1234567890″}]
Great! we just managed to deploy an application on WildFly container image running on Openshift, having as input just the WAR file.