OKD is a distribution of Kubernetes optimized for continuous application development and multi-tenant deployment. OKD is the upstream Kubernetes distribution embedded in Red Hat OpenShift and can be used to add developer and operations-centric tools on top of Kubernetes to enable rapid application development, easy deployment and scaling, and long-term lifecycle maintenance for small and large teams.

Let’s see how we can install OKD on your system. You have two options:
1) Run OKD in a Container
This option allows to get started quickly by running OKD in a container by itself with as little as “oc cluster up”. This option is discussed in tutorial: How to start an openshift local cluster using oc utility
2) Run the All-In-One VM with Minishift
Minishift is a tool that helps you run OKD locally by launching a single-node OKD cluster inside a virtual machine. This option is discussed in this tutorial.
Prepare your environment for installing Minishift
As an example, we will show how to install minishift on a Fedora 29 distribution.
Minishift requires a hypervisor to start the virtual machine on which the OpenShift cluster is provisioned. Make sure KVM is installed and enabled on your system before you start Minishift on Fedora.
Start by installing libvirt and qemu-kvm on your system:
$ sudo dnf install libvirt qemu-kvm
Then, add yourself to the libvirt group to avoid sudo:
$ sudo usermod -a -G libvirt <username>
Next, update your current session for the group change to take effect:
$ newgrp libvirt
Next, start and enable libvirtd and virlogd services.
$ systemctl start virtlogd
$ systemctl enable virtlogd
$ systemctl start libvirtd
$ systemctl enable libvirtd
Finally, install the docker-machine-kvm driver binary to provision a VM. Then make it executable. The instructions below are using version 0.8.2.
sudo curl -L https://github.com/dhiltgen/docker-machine-kvm/releases/download/v0.8.2/docker-machine-driver-kvm -o /usr/local/bin/docker-machine-driver-kvm

sudo chmod +x /usr/local/bin/docker-machine-driver-kvm
Installing Minishift
Download the archive for your operating system from the releases page and unpack it.
wget https://github.com/minishift/minishift/releases/download/v1.27.0/minishift-1.27.0-linux-amd64.tgz
tar -xvf minishift-1.27.0-linux-amd64.tgz
Copy the contents of the directory to your preferred location.
cp minishift ~/bin/minishift
If your personal ~/bin folder is not in your PATH environment variable already (use echo $PATH to check), add it:
export PATH=~/bin:$PATH
Starting Minishift
Finally, provisions OpenShift single node cluster in your workstation by running the following command. The output will look similar to below:
$ minishift start
Starting local OpenShift cluster using 'kvm' hypervisor...
Login to server ...
Creating initial project "myproject" ...
Server Information ...
OpenShift server started.

The server is accessible via web console at:
    https://192.168.42.215:8443/console

You are logged in as:
    User:     developer
    Password: <any value>

To login as administrator:
    oc login -u system:admin
If you browse to the http address you can log into the the Web console:

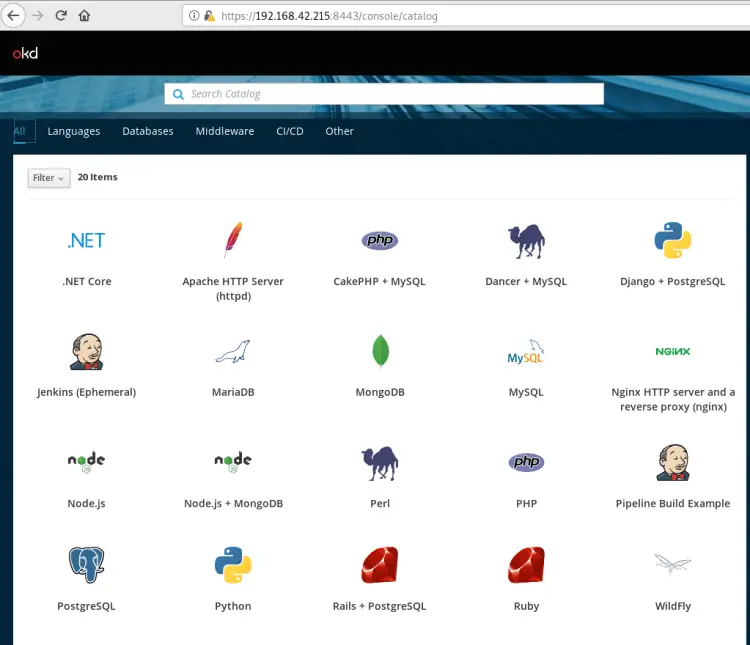
In the next screen you can access to the main panel:

You can create a new application easily by clicking on any of the available templates. For example, select WildFly template:

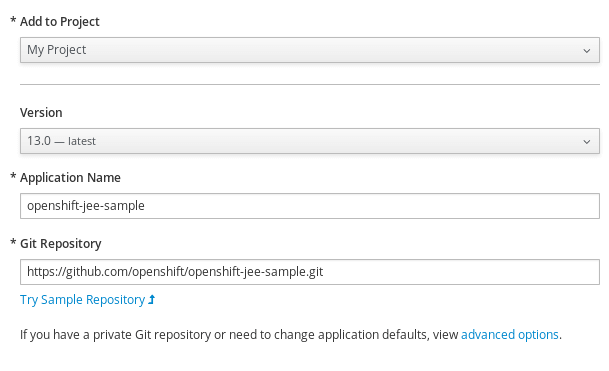
The select a github project that will be used to build the image with the Source to Image process

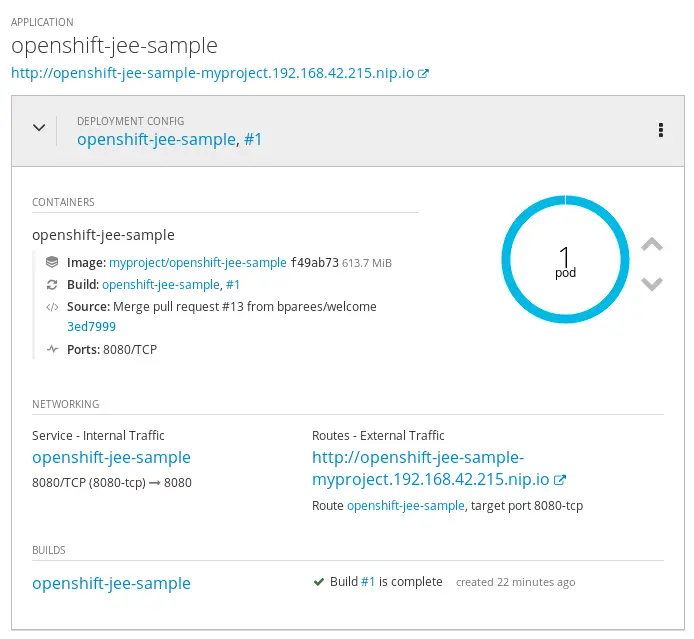
At the end of the build process, the template has created for you also a router so that the application is accessible also externally.

Using the oc binary to build a process
In the above example we have used the Web console to build an example application. Openshift, however, can be reached out using the oc client binary. If you want the oc to be added automatically toyour path, use the “minishift oc-env” to display the command to add the oc binary to your PATH. For example:
$ ./minishift oc-env
export PATH="/home/user1/.minishift/cache/oc/v3.11.0/linux:$PATH"
# Run this command to configure your shell:
# eval $(minishift oc-env)
Now you can try building projects also with the ‘oc’ client tool:
oc login
Authentication required for https://192.168.1.194:8443 (openshift)
Username: developer
Password:  developer
Next, you can test the ‘oc’ client tool loading a Git Hub project which uses WildFly Image Stream:
$ oc new-app wildfly~https://github.com/fmarchioni/ocpdemos --context-dir=wildfly-basic --name=wildfly-basic
Finally, expose the application wildfly-basic to the router so that it’s available to outside:
$ oc expose service wildfly-basic
In this tutorial we have learned how to install Minishift on your environment and we have deployed an example application on the top of it. Also, Minishift ships with the ‘oc’ client tool which just needs to be added to your path to be used.
Found the article helpful? if so please follow us on Socials