Are you looking to enhance your application’s user authentication process? Configuring social login in Keycloak can provide a seamless and convenient login experience for your users. In this comprehensive tutorial, we will guide you through the step-by-step process of setting up social login in Keycloak, leveraging Google Identity Provider as an example. So let’s get started with this easy-to-follow tutorial on configuring social login in Keycloak.
Keycloak supports popular providers like Google, Facebook, Twitter, GitHub, and many more. With social login, your visitors can use their existing social media accounts to authenticate, enhancing user experience and engagement.
In this example, we will learn how to use Google as Identity Provider. Here are the steps required to get started with it:
Create a new Keycloak Realm
Firstly, start KeyCloak:
./kc.sh start-dev
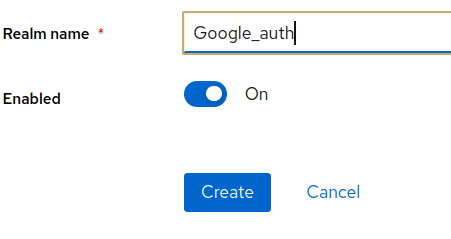
Next, login into Keycloak administration console and create a new Realm definition. For example, create the Realm Google-auth
Create a Google Application
Next, log in to the Google Developer Console: https://console.developers.google.com
In the Upper Left corner Select the Project option. From there, you will be able to create a New Project, as you can see from the following snapshot:

Then, navigate to the Credentials option which is available on the left side of the API manager and choose to Create Credentials:
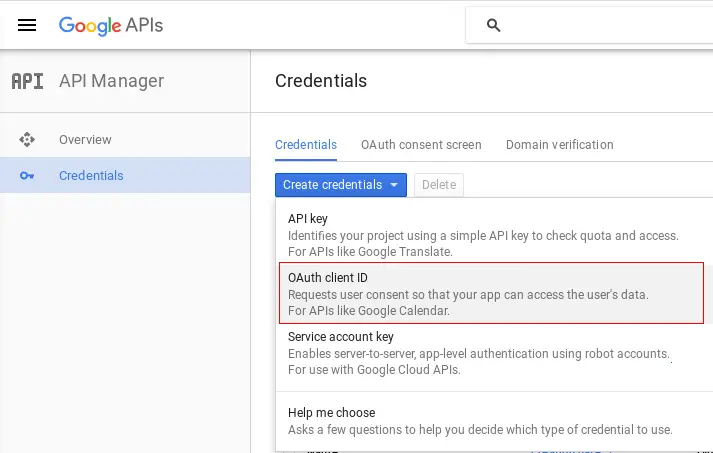
In the above selection, pick up OAuth Client ID and follow along. The most important setting is the Authorized Redirect URI. This is the Keycloak URI, relative to your Realm, in our case: http://localhost:8080/realms/Google_auth/broker/google/endpoint

Adjust the above URI to match with your Keycloak Host address and Realm.
Finally, you will be able to access the Client ID and Secret that you will be using for the Social Authentication:
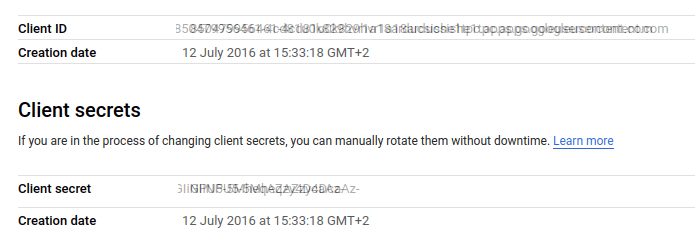
Take note of the above information and move back to the Keycloak Admin Console.
Create an Identity Provider in Keycloak
Next, from Keycloak Administration console choose the Identity Providers option on the left menu. From there, select “Google” as Identity Provider:
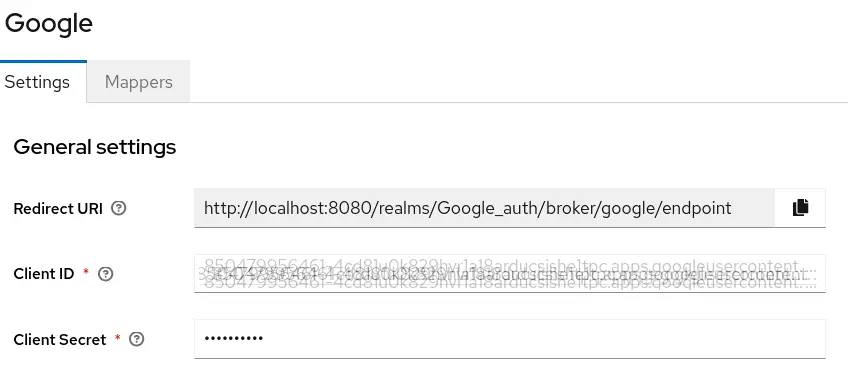
Here you will have to insert the ClientID and Secret from your Google Credentials:
Great. The last step will be generating a Client application.
Create a Client Application
From Keycloak Administration console, add a new OpenID Connect Client and specify the following redirect URI

In our case, upon successful login, Keycloak will redirect to the URI localhost:8180/googledemo where a Web application will be available with that Web Context. To finish, choose to Export the Client configuration in an oidc.json file we will install in the Web application:
{
    "realm": "Google_auth",
    "auth-server-url": "http://localhost:8080/",
    "ssl-required": "external",
    "resource": "googledemo",
    "public-client": true,
    "confidential-port": 0
  }
Well done. In the last part of this article, we will learn how to install the OIDC JSON file in a Web application that will run on top of WildFly application server. To learn more about OIDC, we recommend checking this article: Keycloak OpenID Authentication with WildFly
A Simple OIDC Client
The last step will be creating a simple Web application which incorporates the OIDC JSON file and contains a secure resource in it. This is the basic structure of the Web application:
src
└── main
    ├── java
    │   └── com
    │       └── mastertheboss
    │           └── servlet
    │               └── SecuredServlet.java
    └── webapp
        └── WEB-INF
            ├── oidc.json
            └── web.xml
We already have the content of oidc.json. We need to set the Resource Constraints in web.xml and OIDC as auth-method:
<?xml version="1.0" encoding="UTF-8"?>

<web-app version="2.5" xmlns="http://java.sun.com/xml/ns/javaee"
         xmlns:xsi="http://www.w3.org/2001/XMLSchema-instance"
         xsi:schemaLocation="http://java.sun.com/xml/ns/javaee http://java.sun.com/xml/ns/javaee/web-app_2_5.xsd"
         metadata-complete="false">

   <security-constraint>
        <web-resource-collection>
            <web-resource-name>secured</web-resource-name>
            <url-pattern>/secured</url-pattern>
        </web-resource-collection>
        <auth-constraint>
            <role-name>*</role-name>
        </auth-constraint>
    </security-constraint>

    <login-config>
        <auth-method>OIDC</auth-method>
    </login-config>

    <security-role>
        <role-name>*</role-name>
    </security-role>

</web-app>
The above configuration will apply a declarative OIDC Security on the Servlet which is configured at the URI “/secured”.
Finally, deploy the application on top of a WildFly version which natively supports Keycloak OIDC. For example, WildFly 28.
Testing the Social Login
Lastly, access the secure resource at http://localhost:8080/googledemo/secured and verify that the Google+ button and login with your Google Account:

Great! We were able to secure a Web application using a Social identity provider.
Client Source code: https://github.com/fmarchioni/mastertheboss/tree/master/keycloak/social
Conclusion
In this tutorial, we explored the seamless integration of social login with Google in Keycloak, enabling a convenient and user-friendly authentication process. By configuring Keycloak to support Google as a social identity provider, we harnessed the power of widely-used platforms to streamline user login. With Keycloak’s robust capabilities and the popularity of Google as an identity provider, our application is now equipped to provide a secure and efficient login process for users