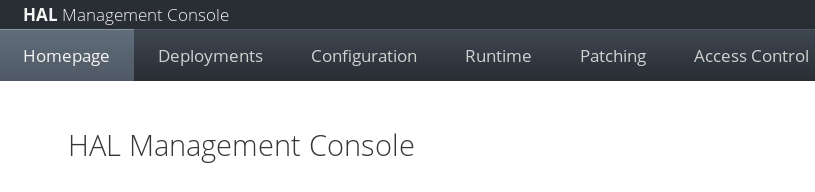
HAL is the codename for WildFly management console. In this tutorial we will have a preview over the “HAL.next” which is next major version of the HAL management console. It ships with new features and uses the latest GWT release.
What is the HAL management console?
The HAL management console is part of every WildFly and JBoss EAP installation. You can access it through your browser at http://localhost:9990. You might ask you would you need to use a standalone installation of HAL to manage WildFly ? There are mainly two use cases:
- You can use the Console latest version
By using the HAL Console in standalone mode you can manage the application server using the latest version of the HAL Console. For example, if you might need the latest bug fix in the Console which is still not available in WildFly. - One console to manage multiple WildFly Servers
You can use one HAL console to connect to multiple WildFly instances. The console can manage and store the connections in an internal registry.
Installing the HAL management console
Before installing the HAL.next management console we need some configuration on the target WildFly server.
Firstly, add a management user to your WildFly installation:
./add-user.sh -u admin -p admin
Then, add the management console allowed origins. SInce we will be running the HAL console on localhost:9090, execute the following CLI command:
/core-service=management/management-interface=http-interface:list-add(name=allowed-origins,value=http://localhost:9090)
Next, let’s install the HAL Console. One option is to build the project from GitHub:
git clone [email protected]:hal/console.git
cd console
./mvnw verify
On the other hand, you can also Download the native HAL Quarkus application for your OS which is available at: https://github.com/hal/console/releases
You can start the native application with just:
$ ./halconsole-3.6.9.Final-linux
Connect to the Hal.next console
Now it’s time to check if everything works as expected so connect to the HAL.next Management Interface at. http://localhost:9090/console/
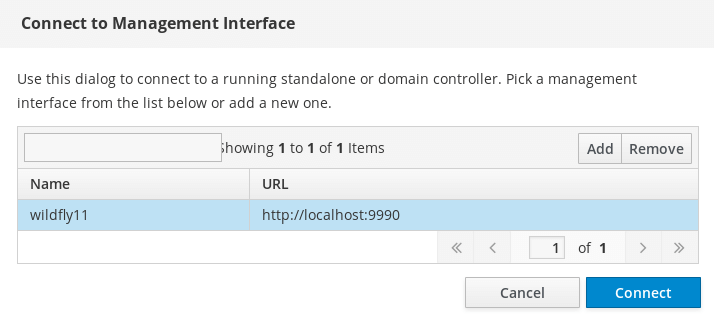
Connect and check that you are displaying the new HAL Console:
Selection bookmarkable URLs
The first thing worth mentioning is that now every selection done across the Console has its own unique URL. In the standard console only the applications (the screens you normally use to view and modify resources) have an URL. Having an unique URL has also maintenance advantages as you can control or filter through Proxy rewrite rules what the user is selecting:

Drag and Drop deployment
Another cool add-on is that you are allowed to drag and drop deployments from your navigator windows:

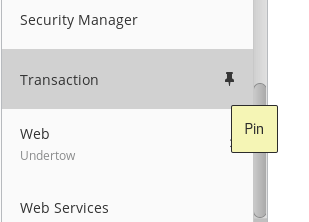
Pin subsystems so that they are always at hand
Next, you can check that every subsystem in the configuration can be pinned so that it stays at the top of the panel. This makes easier to pick up the ones you use more frequently
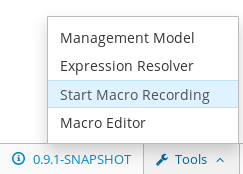
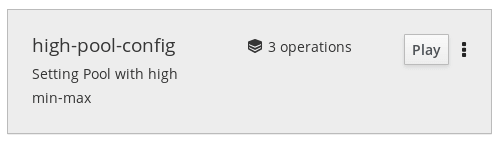
Macro recording
You can record a set of actions you perform on the Management console and save it:
Once you have recorded the macro, simply give it a name so that it can be reused:
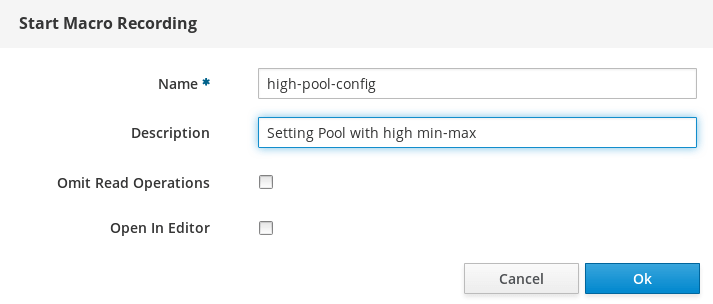
Now go on with management changes. When you are done, select from the bottom widget “Stop Macro Recording“. Once done, you can play macro everytime you need it:
Domain topology overview
Another improvement in the Hal.next console is the Domain topology which provides an overview of the servers in each Domain’s host along with their status:

Install extensions
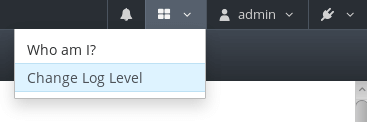
Finally it’s worth mentioning that you can extend the features of the console with extensions. They are written in JavaScript and should use the JavaScript API to build the UI and interact with the management endpoint.

Here is a sample of console headers Extensions, which are available from https://rawgit.com/hal/js-extensions/master/loglevel/extension.json and https://rawgit.com/hal/js-extensions/master/whoami/extension.json
Acknowledgements:
I’d like to thanks Harald Pehl and Claudio Miranda for the awesome work done so far on the Hal.next console and for all the tips shared to write this article!
References: