This is a quick article to discuss how to configure jBPM projects with Spring Boot to include the Swagger UI. The Swagger UI is an handy wrapper to invoke jBPM REST API.
Firstly, if you are new to jBPM REST API we recommend checking this article: jBPM REST API made simple
That being said, to enable the Swagger UI in jBPM you need two main actions:
- Enable Swagger in the Spring Boot configuration
- Include the relevant dependencies
- Configure the Security to allow permissions to access the REST API
Let’s get started!
How to enable Swagger UI in Spring Boot
Firstly, enable the SwaggerUI by setting the kieserver.swagger.enabled property to true. It is also recommended to set the jbpm.executor.enabled property to true if you want to execute Jobs (such as the LogCleanUpCommand) via the REST API:
kieserver.swagger.enabled=true
jbpm.executor.enabled=true
Including Swagger dependencies
The first step requires adding the following dependencies in your pom.xml:
<dependency>
	<groupId>org.apache.cxf</groupId>
	<artifactId>cxf-rt-rs-service-description-swagger</artifactId>
	<version>3.2.6</version>
</dependency>
<dependency>
	<groupId>io.swagger</groupId>
	<artifactId>swagger-jaxrs</artifactId>
	<version>1.5.15</version>
	<exclusions>
		<exclusion>
			<groupId>javax.ws.rs</groupId>
			<artifactId>jsr311-api</artifactId>
		</exclusion>
	</exclusions>
</dependency>

<dependency>
	<groupId>org.webjars</groupId>
	<artifactId>swagger-ui</artifactId>
	<version>2.2.10</version>
</dependency>
That should be fairly simple. Then, let’s move to the next point.
Configuring the Security
Next, include in our Spring Boot project a class which extends WebSecurityConfigurerAdapter and implements the configuration methods to allow an user with “kie-server” Role:
@Configuration("kieServerSecurity")
@EnableWebSecurity
public class DefaultWebSecurityConfig extends WebSecurityConfigurerAdapter {

    @Override
    protected void configure(HttpSecurity http) throws Exception {
        http
                .cors().and()
                .csrf().disable()
                .authorizeRequests()
                .antMatchers("/rest/*").authenticated().and()
                .httpBasic().and()
                .headers().frameOptions().disable();
    }

    @Autowired
    public void configureGlobal(AuthenticationManagerBuilder auth) throws Exception {

        auth.inMemoryAuthentication().withUser("user").password("user").roles("kie-server");
        auth.inMemoryAuthentication().withUser("wbadmin").password("wbadmin").roles("admin");
        auth.inMemoryAuthentication().withUser("kieserver").password("kieserver1!").roles("kie-server");
    }

    @Bean
    CorsConfigurationSource corsConfigurationSource() {
        UrlBasedCorsConfigurationSource source = new UrlBasedCorsConfigurationSource();
        CorsConfiguration corsConfiguration = new CorsConfiguration();
        corsConfiguration.setAllowedOrigins(Arrays.asList("*"));
        corsConfiguration.setAllowCredentials(true);
        corsConfiguration.setAllowedMethods(Arrays.asList(HttpMethod.GET.name(), HttpMethod.HEAD.name(),
                                                          HttpMethod.POST.name(), HttpMethod.DELETE.name(), HttpMethod.PUT.name()));
        corsConfiguration.applyPermitDefaultValues();
        source.registerCorsConfiguration("/**", corsConfiguration);
        return source;
    }

    @Bean
    public PasswordEncoder passwordEncoder() {
        return NoOpPasswordEncoder.getInstance();
    }
}
In this example code, the username “user/user” can access the REST API. Let’s test it!
Testing the REST API
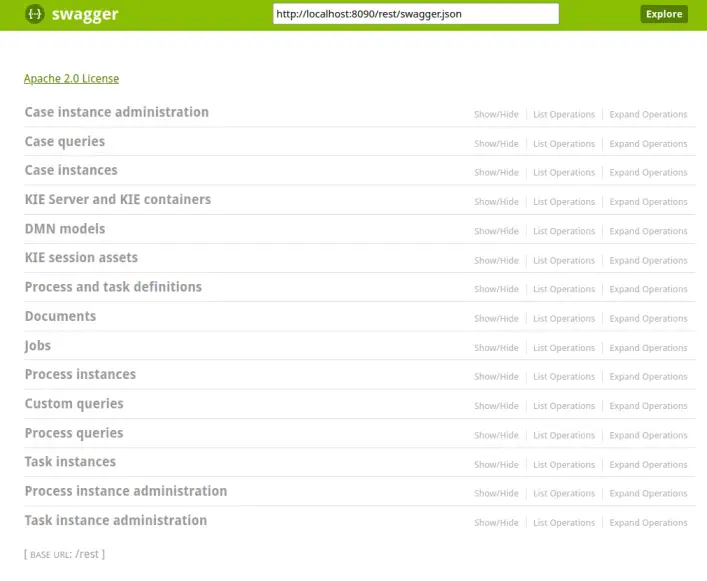
Once started, you will be able to access the REST API at the following URL: http://localhost:8090/rest/api-docs?url=http://localhost:8090/rest/swagger.json#/
Here is the Swagger UI in action:
Conclusion
This article was a quick walk though the configuration of Swagger UI on Spring Boot to simplify the testing of the jBPM REST API.