This tutorial shows how you can configure NetBeans IDE with WildFly application server.
NetBeans IDE is an open-source integrated development environment. NetBeans IDE supports development of all Java application types (Java SE (including JavaFX), Java ME, web, EJB and mobile applications) out of the box.
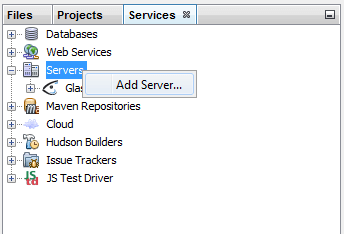
Start by downloading the latest release of NetBeans from https://netbeans.org/downloads/ . Launch the executable binaries which will install Netbeans on a path of your like. Once installed we will try adding a new server by moving into the “Services” tab and right-clicking “Add Server”
From there select “WildFly Application Server” and continue the Add Server Instance wizard:

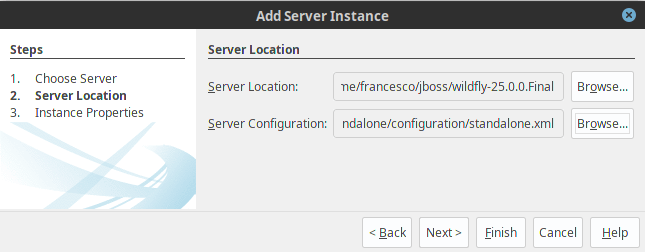
Next choose the Server Location:
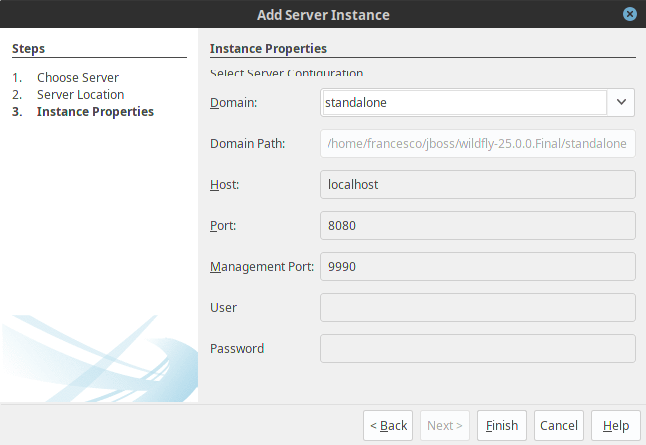
As final optional step, select the Server Configuration you are going to use.
Once the server has been added, you should be able to select it as “Server” when you are defining a new Application, as the following picture displays:
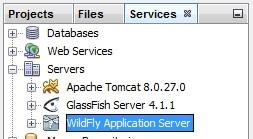
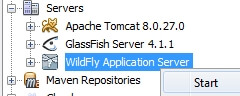
Right click on it and choose Start:
You will see that in the Console the WildFly log will be displayed:
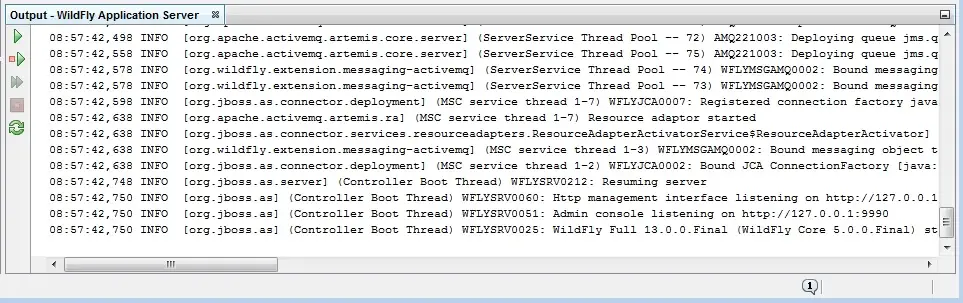
Your WildFly server is up and running! Congratulations! You have just completed the integration between NetBeans and WildFly!
Troubleshooting WildFly plugin installation
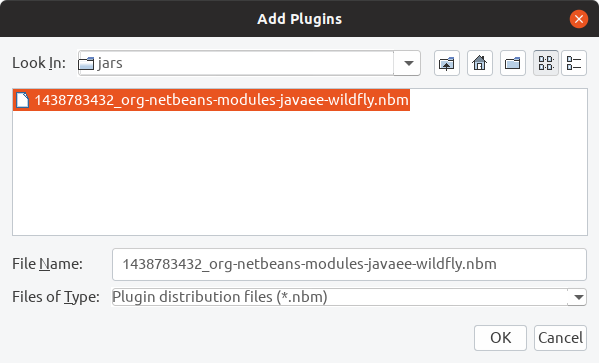
If you are not able to see WildFly in the list of plugins, chances are that your NetBeans version is oudated. You can fix it as follows:
First download the pulging from the Netbeans Plugging Website: http://plugins.netbeans.org/plugin/53333/wildfly-application-server
Then goto the Tools->Plugins Window. Select the Downloaded tab. Then select the Add Plugins button.
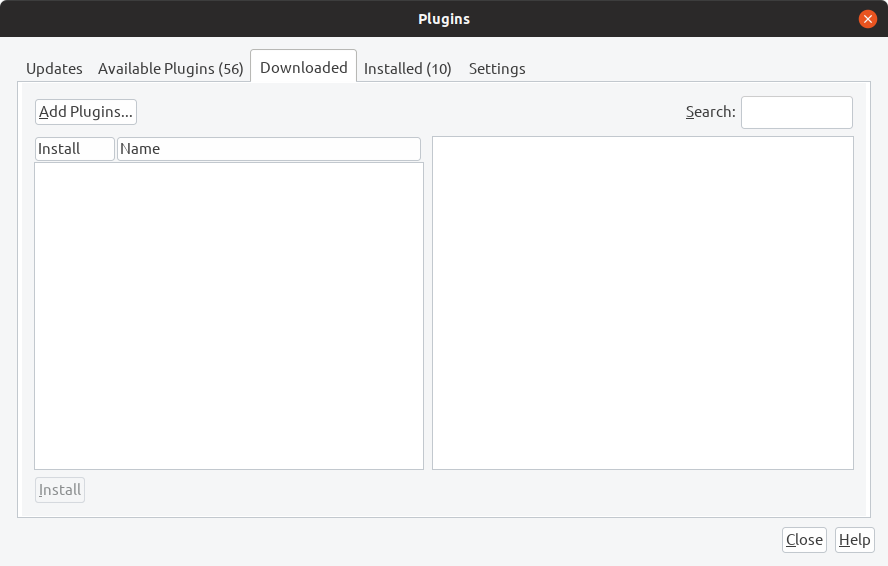
This will give you a simple screen for navigating to the downloaded plugin and adding it to Netbeans.