This is the second tutorial about Docker. In the first one How to run WildFly with Docker we have learnt how to install Docker on a Linux machine and pull a WildFly image on the top of it. Now we will learn how to deploy applications by using Docker Files.
Coding a simple Dockerfile
First of all, what is a Dockerfile? a Dockerfile has a special mission: automation of Docker image creation. Once, you write build instructions into Dockerfile, you can build your own Docker images with custom environment configuration.
A Dockerfile consists of a set of commands which can be written in a text file named “Dockerfile”. The purpose of our first Docker file will be adding an application named “helloworld.war” in the deployments folder of the standalone installation. This will trigger automatic deployment.
Here we go. Create a file named Dockerfile and include the following instructions:
FROM quay.io/wildfly/wildfly

ADD helloworld.war /opt/jboss/wildfly/standalone/deployments/
Now make sure that the helloworld.war application is in the same folder as the Dockerfile:
$ ls

Dockerfile  helloworld.war
wildfly-centos7 image
The new image quay.io/wildfly/wildfly replaces the image quay.io/wildfly/wildfly-centos7 that is now deprecated.
To build a new Docker image is pretty simple, you have to choose a name (actually a tag) and issue a docker build command:
$ docker build --tag=wildfly-helloworld .

Step 0 : FROM quay.io/wildfly/wildfly

 ---> 365390553f92

Step 1 : ADD helloworld.war /opt/jboss/wildfly/standalone/deployments/

 ---> Using cache

 ---> fc3e0048139e

Successfully built fc3e0048139e
So we have successfully built the wildfly-helloworld image. Let’s check it by issuing a docker images command:
$ docker images | grep wildfly
wildfly-helloworld                            latest        b29f3929de43   10 seconds ago   1.35GB
quay.io/wildfly/wildfly                       latest        8782e46e2c2a   6 weeks ago      1.35GB
So now you can start Docker with just:
$ docker run -p 8080:8080 wildfly-helloworld
The application server will start. Verify that the console that the application has been started:
18:18:47,682 INFO  [org.jboss.as.server] (ServerService Thread Pool -- 28) JBAS0

18559: Deployed "helloworld.war" (runtime-name : "helloworld.war")
Testing the application on Docker
Next step will be testing our application. Out of the box, you should be able to reach WildFly from any available network interface as you can see from the Server logs:
16:50:33,053 INFO  [org.jboss.as] (Controller Boot Thread) WFLYSRV0060: Http management interface listening on http://0.0.0.0:9990/management
16:50:33,053 INFO  [org.jboss.as] (Controller Boot Thread) WFLYSRV0051: Admin console listening on http://0.0.0.0:9990
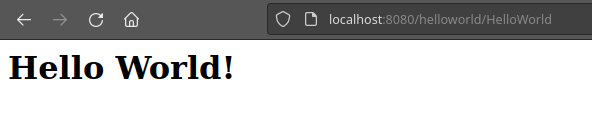
Therefore, to test the helloworld application it is sufficient to reach the address localhost:8080/<WebContext>/<Resource>:
On the other hand, if you want to use the Docker’s IP Address, check the Container Id first:
$ docker ps

CONTAINER ID        IMAGE                       COMMAND                CREATED             STATUS              PORTS                NAMES
b63e7345bf81        wildfly-helloworld:latest   "/opt/jboss/wildfly/   18 minutes ago      Up 18 minutes       9990/tcp, 8080/tcp   cranky_pasteur
And then:
$ docker inspect -f '{{ .NetworkSettings.IPAddress }}' b63e7345bf81

172.17.0.4
Your application is ready to be tested at the address http://172.17.0.4:8080/helloworld/HelloWorld
Deploying applications using the Web Admin console
In order to deploy applications using the Web console we will need to add an user with add-user.sh script which is included in the bin folder of the application server. There are several way to do that, but we can have it done while building our image, so let’s add to our Dockerfile the following command which will create an user in non interactive mode:
FROM quay.io/wildfly/wildfly

RUN /opt/jboss/wildfly/bin/add-user.sh -m -u admin -p Password1! --silent

CMD ["/opt/jboss/wildfly/bin/standalone.sh", "-b", "0.0.0.0", "-bmanagement", "0.0.0.0"]
Now let’s rebuild our image:
$ docker build --tag=wildfly-helloworld .
We will start now the application server. Since we need to access the management interfaces from our host machine, we need to export both ports using the -p option:
$ docker run -p 8080:8080 -p 9990:9990 wildfly-helloworld
Fine. Inspect for the Container ID using docker ps and find the IP Address used by the application server:
$ docker ps
CONTAINER ID   IMAGE                COMMAND                  CREATED              STATUS              PORTS                                                                                            NAMES
3da010da7e93   wildfly-helloworld   "container-entrypoin…"   About a minute ago   Up About a minute   0.0.0.0:8080->8080/tcp, :::8080->8080/tcp, 0.0.0.0:9990->9990/tcp, :::9990->9990/tcp, 8778/tcp   lucid_hamilton
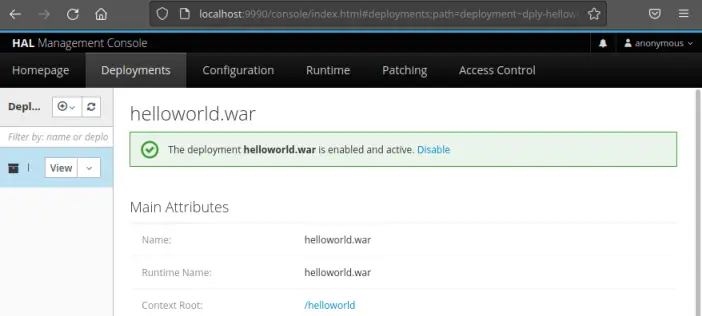
Now log into the Admin Web console at localhost:9990 and enter the credentials we have included into the Dockerfile
Great! we are into the Docker Admin Console.
From there we can access the Runtime tab and add applications which are hosted on our machine.
Customize WildFly Configuration on Docker
So far we have learnt about the RUN command to execute the add-user.sh script. We will now use it to run a Command Line Interface (CLI) script that will customize WildFly Configuration.
Here is out minimalist extensions.cli script:
embed-server --std-out=echo

/system-property=foo:add(value=demo)

quit
Please notice that we use embed-server mode so that we can start the server in embedded mode for the purpose of running the CLI commands. More about WildFly emdedded mode here: How to configure WildFly from the CLI in embedded mode
Next, modify your Dockerfile so that you will fire the jboss-cli.sh command to launch the above script:
FROM quay.io/wildfly/wildfly

COPY config.cli /opt/jboss/wildfly/bin/config.cli

RUN /opt/jboss/wildfly/bin/jboss-cli.sh --file="/opt/jboss/wildfly/bin/config.cli"
Then, build again your Docker image.
$ docker build --tag=wildfly-helloworld .
You will notice that during the Build phase the emdedded mode will startup the server and run the CLI command. At the end of it, run the Image:
$ docker run -p 8080:8080 wildfly-helloworld
Finally, you can check your Server configuration by running the read-resource command on your System Property.
Firstly, grab the Container Id:
$ docker ps
CONTAINER ID   IMAGE                COMMAND                  CREATED          STATUS          PORTS                                                 NAMES
d5fe59a18b22   wildfly-helloworld   "container-entrypoin…"   20 seconds ago   Up 19 seconds   0.0.0.0:8080->8080/tcp, :::8080->8080/tcp, 8778/tcp   adoring_shtern
Then, run the CLI Command “/system-property=foo:read-resource” on your remote Container:
$ docker exec d5fe59a18b22 /opt/jboss/wildfly/bin/jboss-cli.sh -c "/system-property=foo:read-resource"
{
    "outcome" => "success",
    "result" => {"value" => "demo"}
}
Monitoring the WildFly Image
Finally, we will show how to monitor the WildFly image running in a Docker container. To do that, you need to launch WildFly version of jconsole, which is available in the JBOSS_HOME/bin folder of the application server
Please note that you will need using the same local version of WildFly to connect to the image in the container. This is needed since the wrapper script of jconsole will add some wildfly libraries that must be of the same version as wildFly’s docker image.
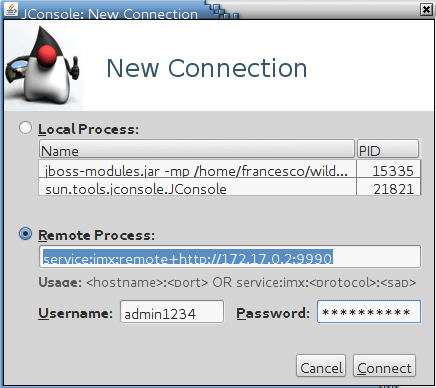
You can launch JConsole using JMX over remoting as protocol on port 9990. Here is the URI to be used for the Connection: service:jmx:remote+http://172.17.0.2:9990
Also you need to include in the Username and Password the credentials for your User as indicated in the following picture:
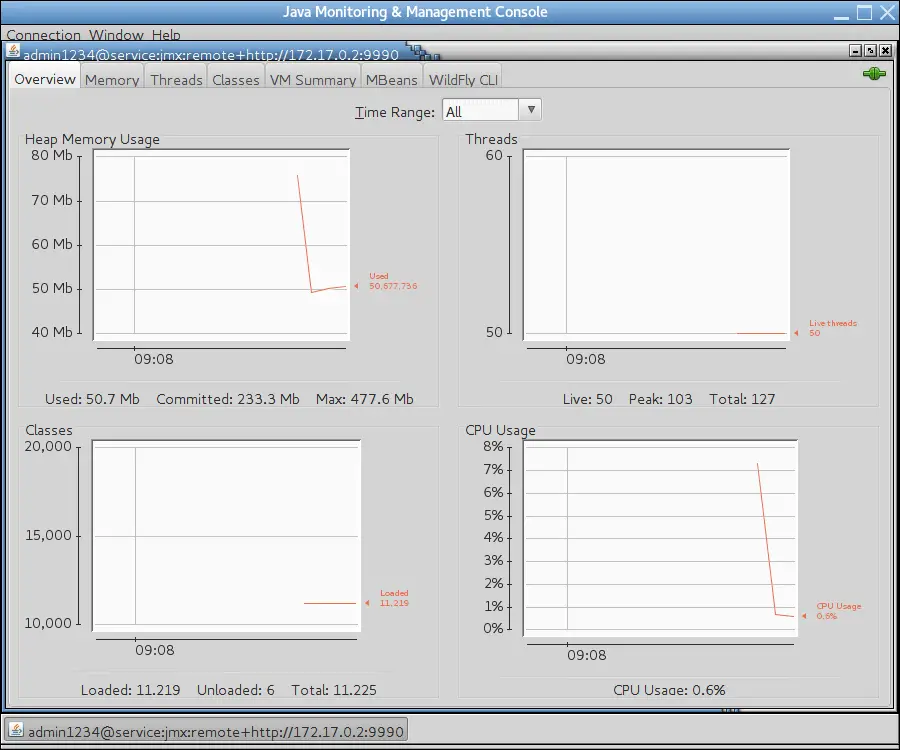
You will see that in a few seconds you will reach JConsole’s main page:
Conclusion
This article was a walk though the creation of custom Docker images including application and configuration on top of WildFly runtime Image.
Found the article helpful? if so please follow us on Socials


