In this tutorial, we will explore how to run Apache Artemis MQ, a high-performance messaging broker, within a Docker container. By containerizing Artemis MQ, you can easily deploy and manage your messaging infrastructure while leveraging the benefits of isolation, scalability, and portability offered by Docker. Let’s dive into the world of containerized messaging with Artemis MQ!
Hard requirements
To run this example, you need a containerization platform such as Docker or Podman. Let’s assume you have Docker available on your machine.
Next, start the service:
service docker start
Deploying Artemis MQ Image
You can find the basic Broker Container Image at quay.io: https://quay.io/repository/artemiscloud/activemq-artemis-broker-init?tab=tags
Next, execute the docker run command which will download the basic Broker Image (quay.io/artemiscloud/activemq-artemis-broker) and run it locally for you:
docker run --rm -e AMQ_USER=admin -e AMQ_PASSWORD=admin -p 61616:61616 --name artemis quay.io/artemiscloud/activemq-artemis-broker
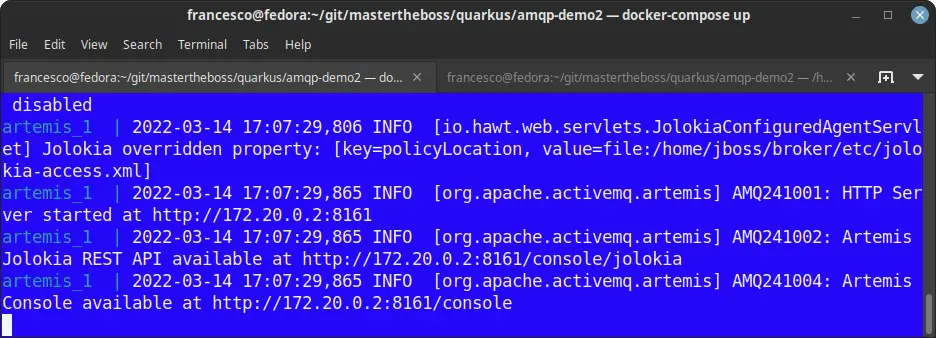
In the above example, we are using the AMQ_USER and AMQ_PASSWORD environment variables to configure an Admin user. Check that the server started:

As we have exported the port 61616, we are able to connect from our Host using the OpenWire protocol to send and receive messages, subscribe to destinations, and perform various messaging operations.
Running the Image with Docker-compose
If your Artemis broker needs to integrate with other container image, it is a good idea, especially for test purpose, to include it in a docker-compose.yaml file. Here is a sample docker-compose.yaml file which reference the latest version of the Image:
version: '2'

services:
  artemis:
    image: quay.io/artemiscloud/activemq-artemis-broker
    ports:
      - "5672:5672"
      - "61616:61616"
    volumes:
      - ./broker/broker.xml:/opt/amq/conf/broker.xml
    environment:
      AMQ_USER: "admin"
      AMQ_PASSWORD: "admin"
In the above example, we are providing the broker configuration from the Host folder./broker/broker.xml. Also, we are setting the AMQ user and password using environment variables.
You can start ArtemisMQ with Docker Compose as follows:
docker-compose up
Sending and Receiving Messages from/to the Container Image
Finally, we will show how to produce and consume messages on the Container Image of Artemis MQ
Provided that you have used the –name parameter to set the Container Image name, you can produce messages as follows:
docker exec artemis /home/jboss/broker/bin/artemis producer --destination demoqueue --message-size 1024 --message-count 10
Then, to consume messages, you can run the following command:
docker exec artemis /home/jboss/broker/bin/artemis consumer --destination demoqueue --message-count 10 --verbose
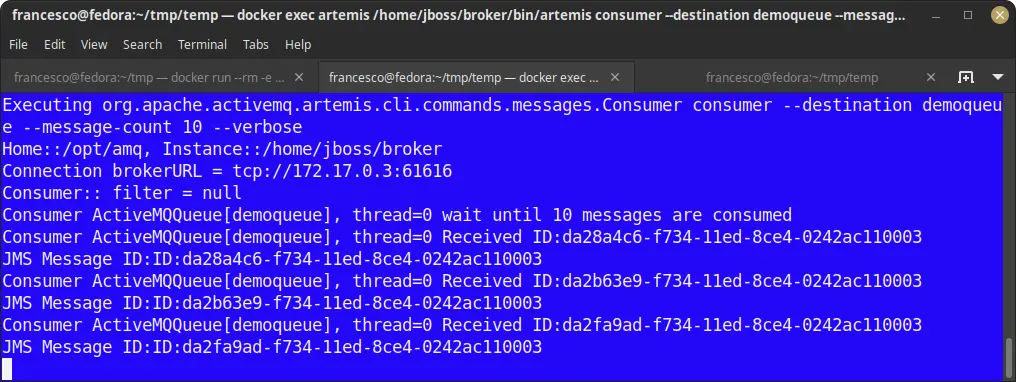
As you can see from the following Image, messages from the Queue “demoqueue” are being consumed:

Conclusion
In this tutorial, we have covered the essential steps to run Apache Artemis MQ in a Docker container. We started by pulling the official Artemis image from the Docker Hub and customizing the container configuration as per our requirements. We explored how to create and configure brokers, manage queues and addresses, and expose ports for communication.
Found the article helpful? if so please follow us on Socials