This tutorial is an introduction to the Eclipse Che cloud development tool which allows to build Enterprise applications without leaving your browser.
If you land in the Eclipse downloads page, you will see that several options are available, besides the standard installer. One of this option, named Eclipse Che is a cloud environment is focused on container-native development. It defines workspaces that include their dependencies including embedded containerized runtimes, a web IDE, and project code.
Let’s see a quick example of how it works. Start reaching Eclipse Che page, available at: https://www.eclipse.org/che/getting-started/download/
From there, you have two options:
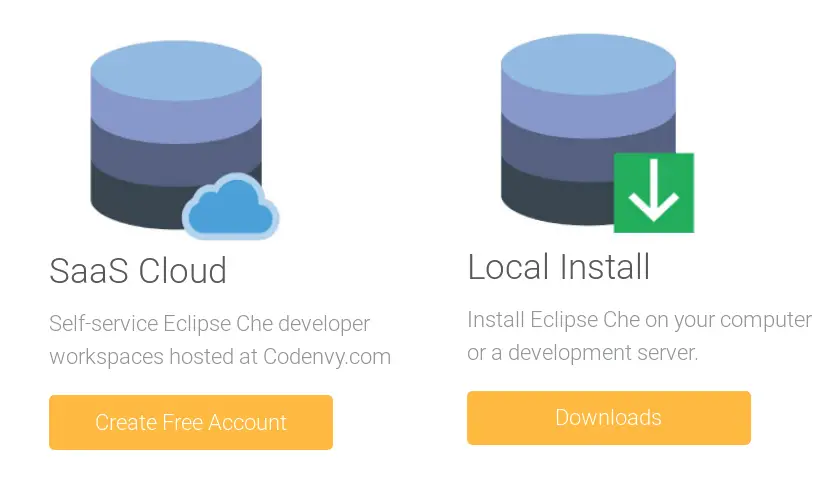
The first one will allow you to run Eclipse Che within your browser without any installation, the second one allows installing Eclipse Che on your machine to work as development server. Let’s choose the first option.
if you opt to use Saas development, then you need to choose how to get started. You have three options:
- Get started by creating a workspace using a wizard
- Directly start by providing a GitHub or GitLab repository which will be cloned in your development environment
- Use a template starting from oen of the many options available
We will go through the simplest option for a developer, that is starting from a GitHub project. Enter a valid GitHub repository.
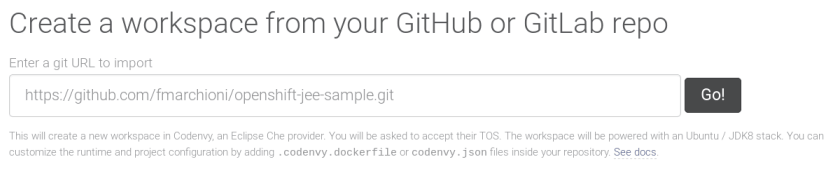
For example, I will use a repository I have created time ago to test a Web application on Openshift: https://github.com/fmarchioni/openshift-jee-sample
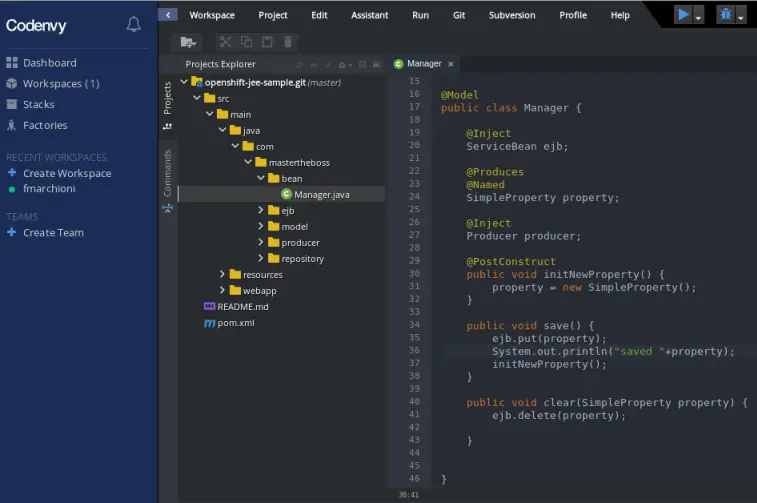
In a few minutes, A Container image of your project will be created and you will be able to edit the project from within the browser:
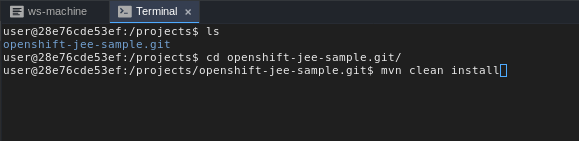
At the bottom of your editor, a tab panel contains a Terminal window from where you can execute build commands on your project:
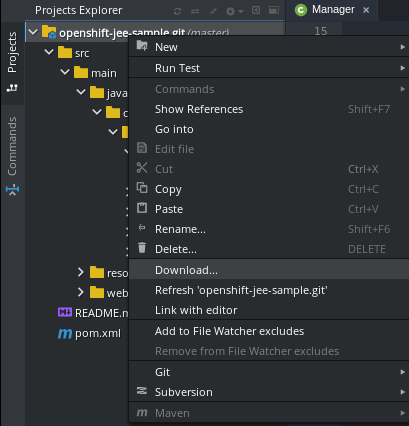
Once built, you can download the artifact to your Host machine:
That is a good option if you need a quick edit, rebuild and download of your project. Most of the times, however, you would like to let a Continuos Integration Tool (like Jenkins) to manage the build and deploy of your project. For this reason, you would like rather to learn how to commit and push the changes to the repository from Eclipse Che.
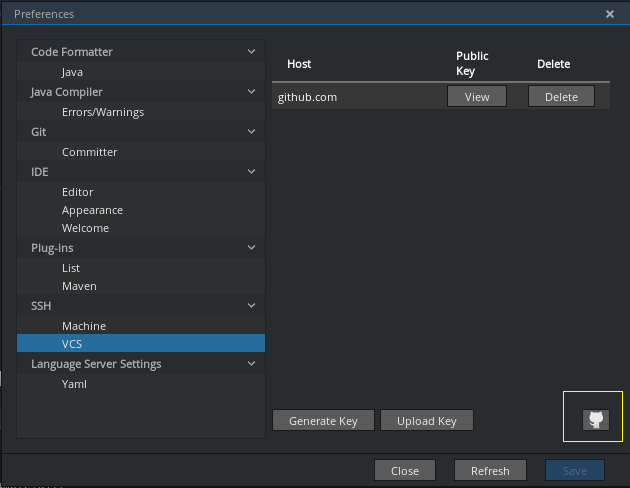
In order to do that, Reach the Profile->Preferences option and select VCS from the Menu. We will need to create a public key which will be uploaded on GitHub (or any other repository). Therefore Click on Generate Key and enter as Host “github.com”.
The generated key needs to be added in your GitHub Settings as showed by this picture:

As side note, I had to click on the Github icon which is next to your Profile Preferences, to enforce Eclipse Che to upload the SSH key to Github, otherwise my pushes to remote repository kept failing:
Once done that, you are ready to work with your team by using Eclipse Che.
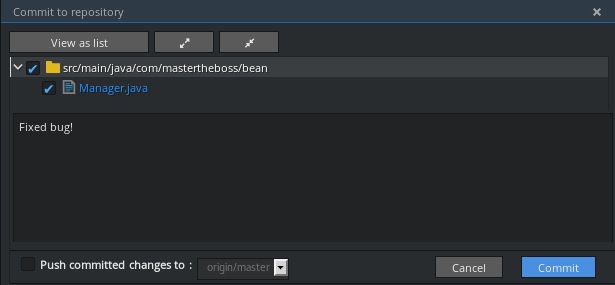
Now, you can check out a project, perform the required commits (Git->Commit):
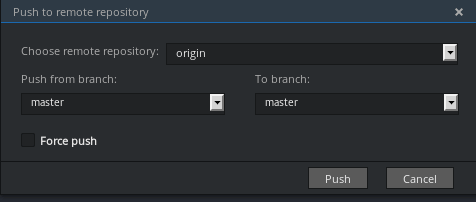
Then, when you are ready, Push the commits to the Remote Repository (Git->Remotes->Push)
And you are done! Enjoy could development with Eclipse Che!
Found the article helpful? if so please follow us on Socials


