In this tutorial we will learn how to design a process from scratch using the jBPM6 Web designer or the business-central of its supported version, named Red Hat JBoss BPM
Prerequisites: You have an installed jBPM 6 or the supported version Red Hat JBoss BPM 6.
Reach the Web console:
- If using JBPM 6 move to http://localhost:8080/jbpm-console (login with the default admin/admin user)
- If using JBoss BPM move to http://localhost:8080/business-central (login with the user defined in the installation)
Authoring a Process
In order to create a new process you have at first to define an Organizational Unit for it. From the top menu go to Authoring | Administration| Organizational Units | Manage Organizational Units.
Click Add to create a new Organizational unit, and provide a Name for it, the user in charge to admin the unit, and the Maven group name:

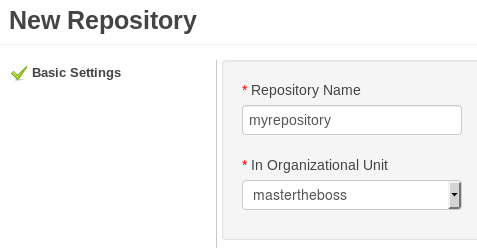
Next step will be adding a Repository. jBPM 6 uses an internal Git repository to store your projects. In order to create it, navigate through the menus, and go to Authoring | Administration | Repositories | New Repository. Enter a name for the repository, choose the organization unit and create the repository.
Create your process with the Web designer
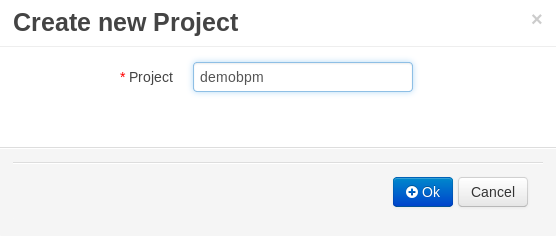
It’s time to create your first process. Go to Authoring | Project Authoring. Select New Item and choose Project. At first you will choose the Project name:
Next enter the Project General settings as indicated in this picture:
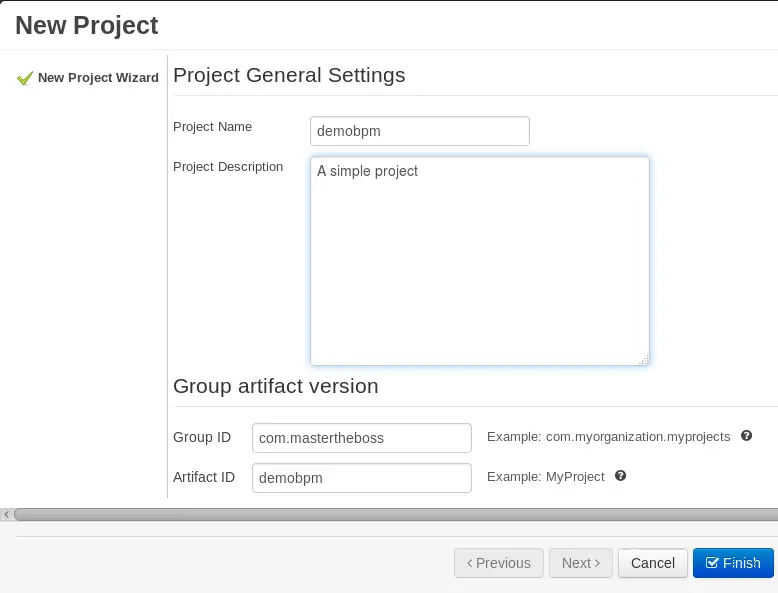
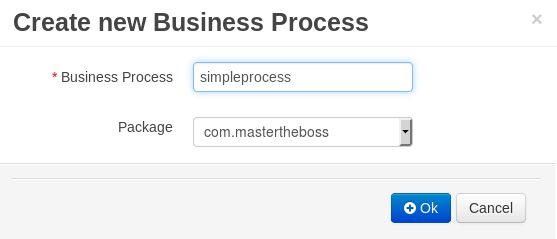
Click on Finish. Now we will add our first process. Select New Item | Business Process and enter a name for the business process;
Now, the business console will show you the process modeler for designing your business processes.

The process modeler is made up of the following 4 parts:
- On the left side the Object library contains all the BPM components. Drag and drop them to include them in the process
- The Workspace on the center contains the process model
- The Property window on the right can be used to configure properties of the BPM components
- The Upper toolbar contains some typical options for saving, copy and past, export/import of the process
Building Your First BPM Application
We will now define a simple process which will contain a HumanTask to be completed and a couple of Script Task to debug the outcome of the status. Here is our process:
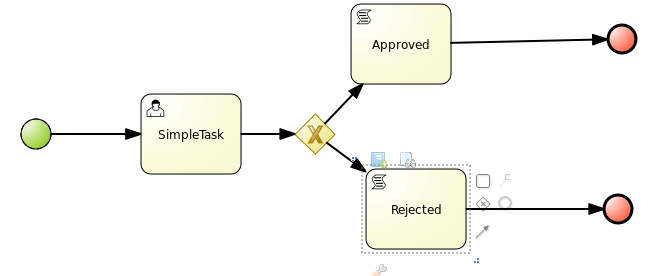
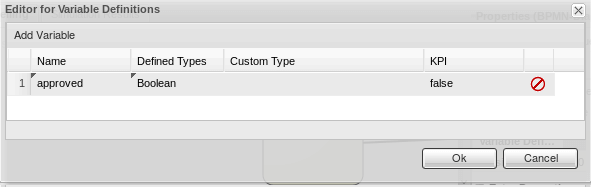
First of all, we have defined one Process variable named “approved” that will be later used to collect information from an Human Task.
Next, the process contains the Human Task which has been assigned to the bpmnAdmin user:
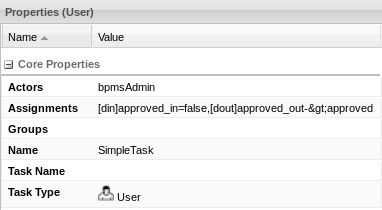
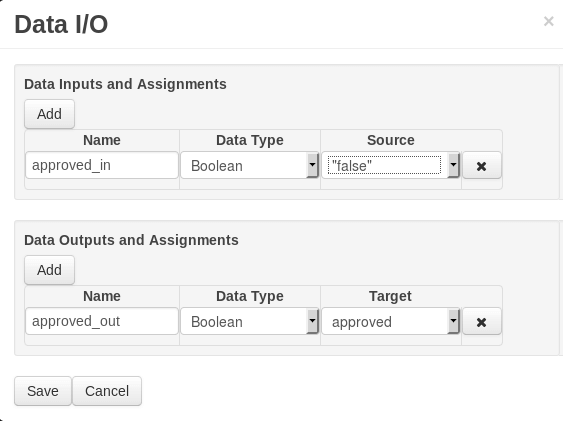
In the assignment window (you can reach it from the Property window of the Task), you can map in/out variables generated in the Human task. In our example, we are collecting one Boolean, the approved variable, which will be then stored in the corresponding Process variable.
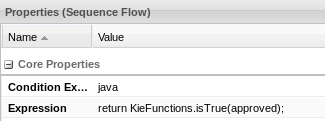
The gateways are a basic example on how to control the process flow. It can lead to two different paths: the first one will be used when the variable approved is “true”:
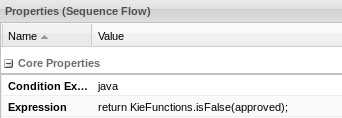
On the other hand, when approved is “false”, the second path will be chosen:
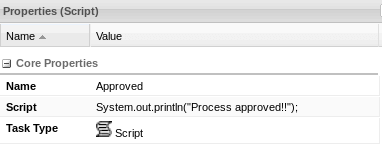
The Script tasks are just there to debug our Process, including a System.out inside it:
Deploy and Run the process
Go to Authoring, click on Open Project Editor. Click Build & Deploy. Check that the build and deploy was successful, next move to Process Management | Process definitions. You should find the Process Definition :

Click on Start in order to launch a new instance of the Process. You will be able to enter some values for the process variables if any. The process will be visible in the Process Instances UI. Next move to the Tasks menu and verify that you have in charge the Task (if not check that the Actor you have assigned is the same user you have used for logging in the business console):
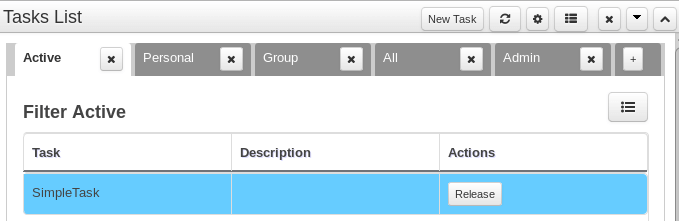
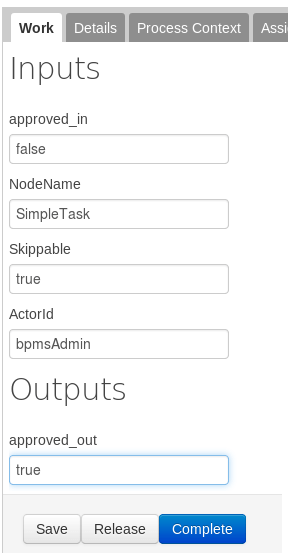
At first start the Task:

Next fill up the auto-generated form with the approved parameter and click on Complete.
Now the process will end, verify from the Server logs that the process has gone through the right path:
12:24:23,995 INFO [stdout] (http-/127.0.0.1:8080-17) Process approved!!
That’s all! In the next tutorial we will learn how to fire and control your Process instances through the REST API.
Found the article helpful? if so please follow us on Socials


